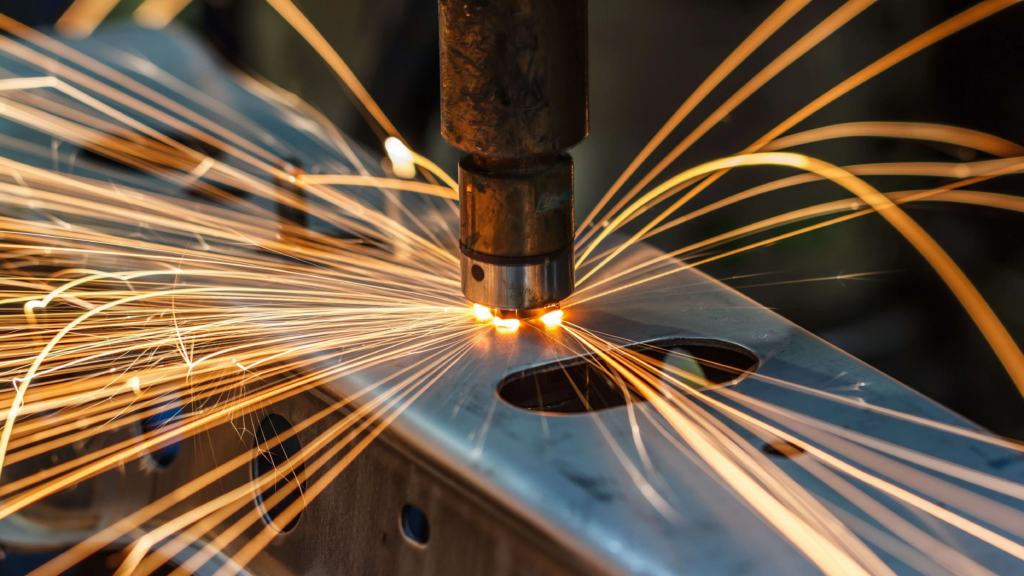
Spot welding — formally called resistance spot welding (RSW), classified as process 21 per ISO 4063 and covered by AWS D8.7M for automotive applications — is the most widely used welding process in the automotive industry. No shielding gas, no filler metal, compact equipment: a spot welder joins two overlapping metal sheets in milliseconds — precisely, solidly and repeatably. It’s the reference process for body panel replacement, structural repairs and the faithful restoration of factory welds on any vehicle.
SOUDURE TIG · MIG/MAG
MMA · PAR POINT · DÉBOSSELAGE
Liens fiables et vérifiés — disponibles sur Amazon & AliExpress
This complete guide to spot welding covers everything you need to weld with confidence: the resistance welding principle, current/time/pressure setting charts by sheet thickness, electrode maintenance, body repair technique, defect troubleshooting and equipment selection. Also see our guides on MIG welding and MMA stick welding for process selection.
1. How spot welding works (process explained)
Spot welding (resistance spot welding) is a resistance welding process: two overlapping sheets are clamped between two copper electrodes that simultaneously apply mechanical pressure and a high-intensity electrical current. The contact resistance at the sheet interface generates localised heat that melts the metal at a precise point — forming a weld nugget. When the current stops, the electrodes hold pressure while the metal solidifies, producing a strong, lens-shaped weld joint — with no filler metal and no shielding gas.
Unlike arc welding processes (MIG/MAG, TIG, MMA), spot welding produces no arc fumes, no spatter and no visible weld bead. The joint remains flush and discreet — ideal for body panels where the appearance of the repair is as important as its structural integrity.
The three fundamental parameters of spot welding
The quality of a spot weld depends on the precise balance between three parameters. Current (I, in kA) determines the heat generated by the Joule effect at the sheet interface — too low, no nugget forms; too high, the sheets burn through or the electrode face imprints deeply. Weld time (t, in ms or cycles) controls the duration of current flow — too short, insufficient nugget; too long, overheating and metal expulsion. Electrode force (F, in daN or lbf) ensures intimate contact between the sheets and contains the molten metal — too low, metal expulsion; too high, sheet deformation.
2. Advantages and limitations of spot welding
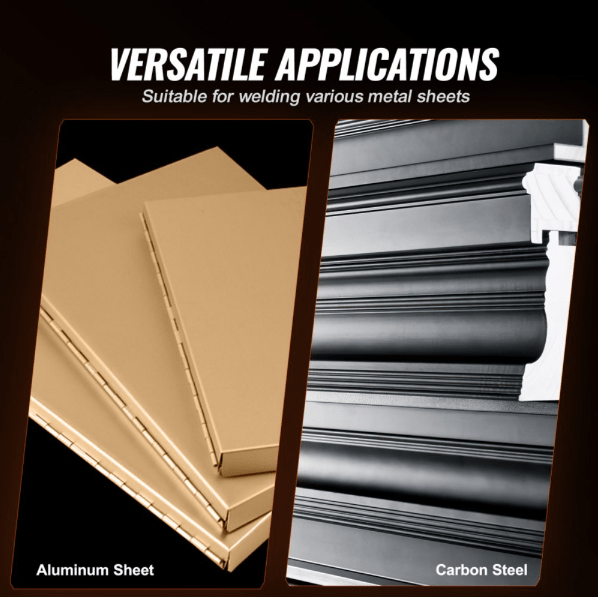
Spot welding offers decisive advantages for body repair: speed (one spot in milliseconds to a few seconds), precision (localised fusion point with minimal heat spread), clean appearance (no visible weld bead, ideal for visible surfaces), no filler metal (no wire, no gas, low operating cost) and repeatability (adjustable parameters, consistent spot to spot). The trade-offs: limited to lap joints (two overlapping sheets), restricted to thin materials (typically 0.5–3 mm per sheet for body applications), and requires access to both sides of the sheet for the electrodes.
Spot welding vs MIG welding in body repair
| Criterion | Spot welding (process 21) | MIG body welding (process 135) |
|---|---|---|
| Joint type | Lap joint only | Butt, fillet, lap |
| Aesthetic result | ✅ Flush, invisible | Visible bead, requires finishing |
| Heat distortion | ✅ Very low (localised heat) | Moderate to high |
| Factory weld restoration | ✅ Ideal (exact match) | Acceptable but different |
| Filler metal | None required | MIG wire required |
| Access requirement | Both sides of sheet | Single-side access possible |
3. Spot welder settings: chart by sheet thickness
Spot welder settings depend on the total sheet stack thickness, steel type (mild, galvanised, high-strength) and electrode tip diameter. The values below are reference guidelines for uncoated mild steel with CuCrZr (copper-chrome-zirconium) electrodes, 3/16–1/4 in (5–6 mm) tip diameter. For galvanised steel (very common on modern vehicles): increase current by 10–15% and weld time by 10–20% compared to bare mild steel values.
Spot welding settings chart — mild steel (reference values)
| Sheet 1 | Sheet 2 | Current (kA) | Weld time (ms) | Electrode force | Min nugget Ø |
|---|---|---|---|---|---|
| 0.024 in (0.6 mm) | 0.024 in (0.6 mm) | 5–6 kA | 80–120 ms | 330–450 lbf | 0.12 in (3.0 mm) |
| 0.032 in (0.8 mm) | 0.032 in (0.8 mm) | 6–7 kA | 120–160 ms | 400–500 lbf | 0.14 in (3.5 mm) |
| 0.039 in (1.0 mm) | 0.039 in (1.0 mm) | 7–8 kA | 160–200 ms | 450–560 lbf | 0.16 in (4.0 mm) |
| 0.047 in (1.2 mm) | 0.047 in (1.2 mm) | 8–9 kA | 180–240 ms | 495–630 lbf | 0.18 in (4.5 mm) |
| 0.059 in (1.5 mm) | 0.059 in (1.5 mm) | 9–10 kA | 220–300 ms | 560–720 lbf | 0.20 in (5.0 mm) |
| 0.079 in (2.0 mm) | 0.079 in (2.0 mm) | 10–12 kA | 280–380 ms | 675–855 lbf | 0.22 in (5.5 mm) |
| 0.039 in (1.0 mm) | 0.079 in (2.0 mm) | 9–11 kA | 220–300 ms | 560–720 lbf | 0.18 in (4.5 mm) |
Rule of thumb: the minimum acceptable weld nugget diameter is 3.5 × √t (where t is the thickness of the thinner sheet in mm) per AWS D8.7M and ISO 14327 guidelines. Nugget too small → weak joint. Nugget too large with metal expulsion → burn-through defect.
Settings for galvanised steel and advanced high-strength steel (AHSS)
Galvanised steel is very common on modern vehicle bodies — it requires 10–15% more current and 10–20% longer weld time than bare mild steel, because the zinc coating increases contact resistance and consumes energy before the base metal melts. Advanced high-strength steels (AHSS, dual-phase, TRIP steels) used in crash structures require higher electrode force and sometimes slightly reduced current — always follow the OEM repair procedures (available through I-CAR, OEM1Stop, ALLDATA, Mitchell ProDemand, etc.).
4. Spot welding technique in auto body repair
In body repair, spot welding is used primarily to restore factory welds when replacing a panel or structural component. The standard procedure has four steps: drilling out the original spot welds (spot weld drill, chisel, or panel separator), surface preparation (rust removal, application of weld-through primer or structural adhesive where specified), MIG tack welding to position the new panel, then spot welding to restore the factory weld pattern.
Surface preparation before spot welding
Surface preparation is critical in spot welding because the contact resistance between sheets directly determines nugget quality. Remove all rust, paint, sealer and adhesive from the weld zone with a grinder or wire brush. Surfaces must be clean and flat. If weld-through primer is applied between the sheets, it must be compatible with resistance welding — non-conductive primers prevent nugget formation. Gap between sheets must be minimal — excessive gap increases contact resistance and may prevent proper nugget formation.
Spot spacing and number of welds
The minimum spacing between two adjacent spot welds is typically 3/4–1 in (20–25 mm) for 0.039 in (1 mm) sheet — below this, the current of the second spot is partially shunted through the already solidified first nugget (shunting effect), reducing available energy and nugget size. In practice, always follow the spacing specified in the OEM repair procedures, available through I-CAR Repairability Technical Support (RTS), OEM-specific portals or repair information systems.
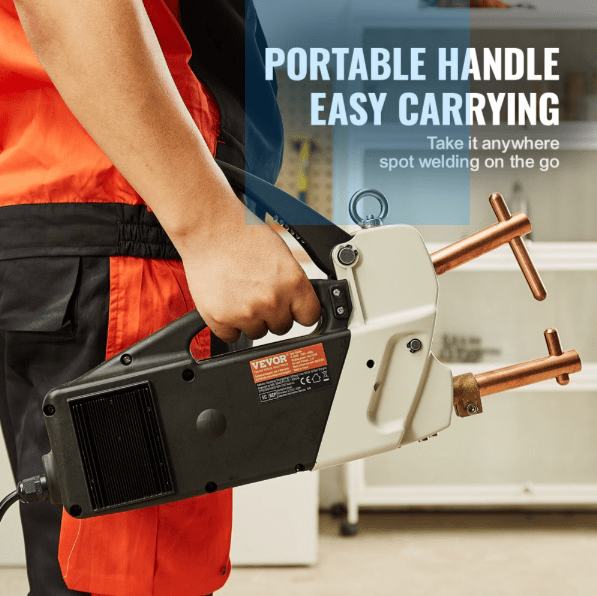
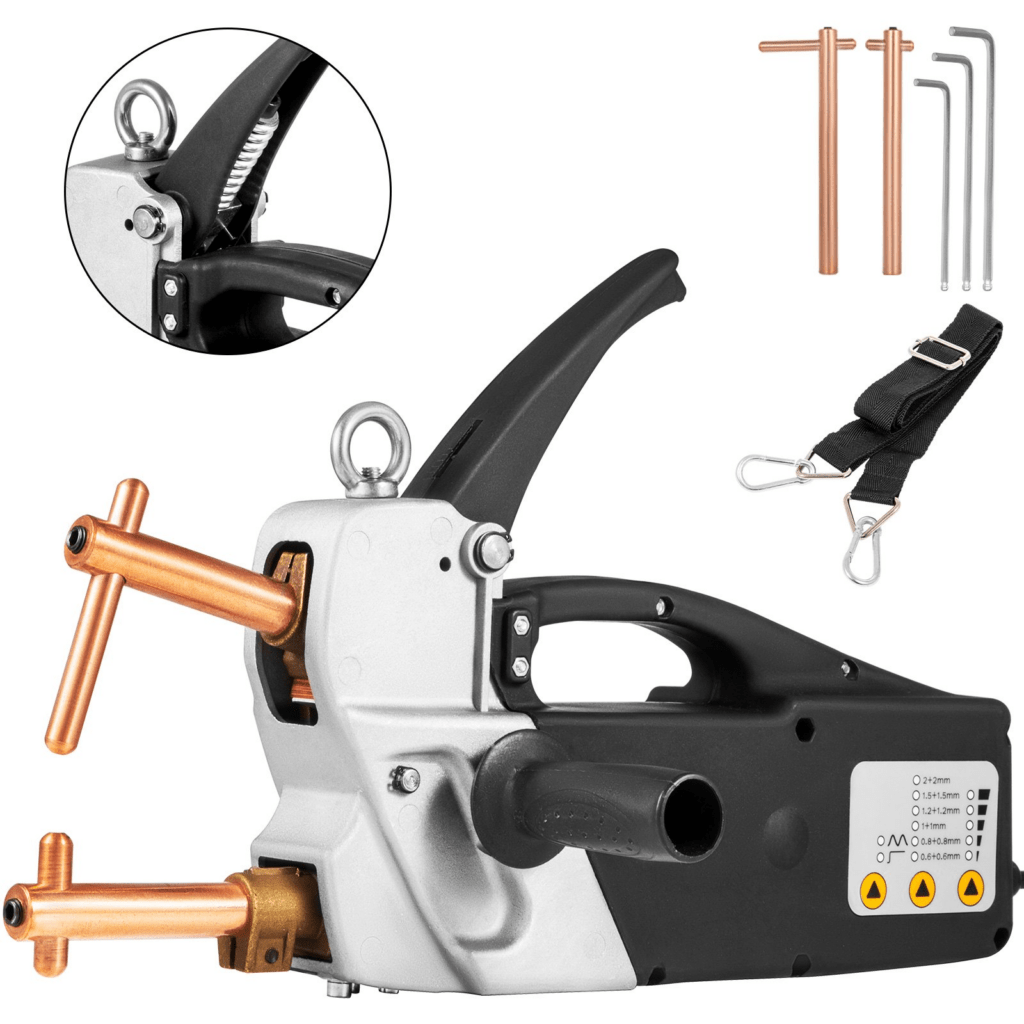
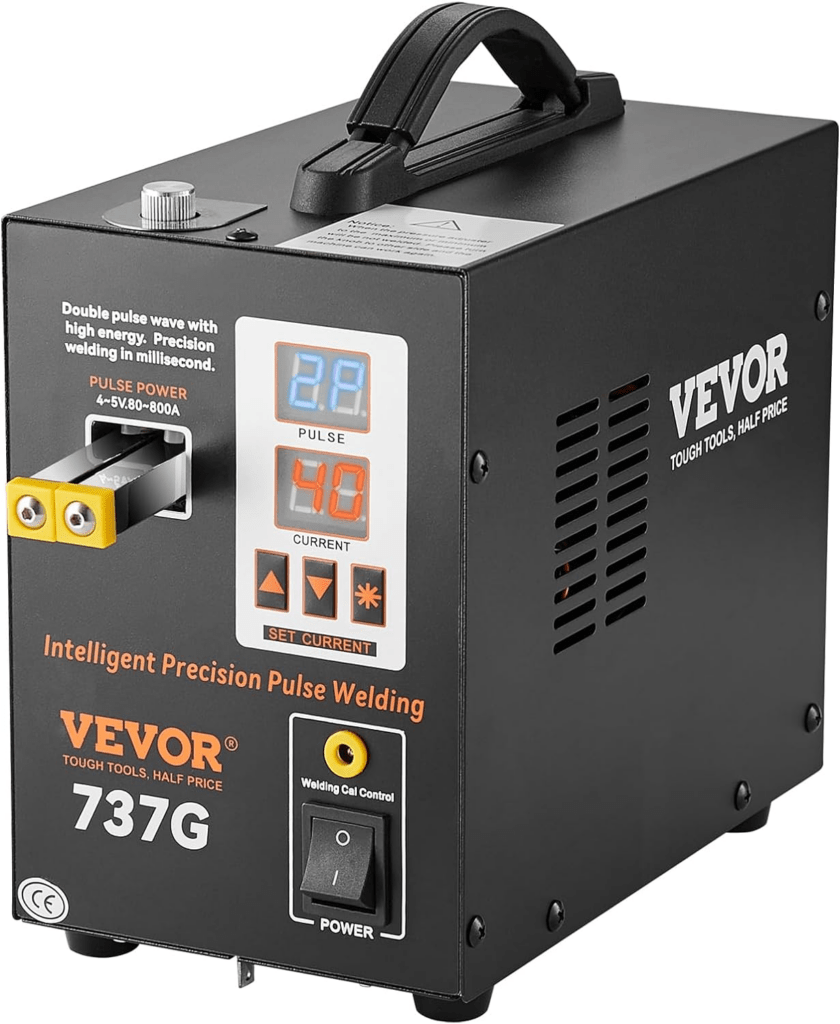
5. Components of a portable spot welder (body repair)
A portable body repair spot welder consists of several key components. The power source (single-phase 120/240 V transformer, or high-frequency inverter) generates the welding current. The welding arms (tongs) carry the electrodes and transmit both current and pressure. The CuCrZr electrodes (copper-chrome-zirconium) concentrate current and pressure on the weld zone — they wear progressively and must be dressed with an electrode tip dresser or replaced. The weld controller sets current, time and sometimes force. The cooling circuit (water or air) dissipates electrode heat to extend tip life and maintain stable parameters.
Electrode maintenance: the forgotten parameter
Electrode tips are the most wear-sensitive component of a spot welder. A worn tip (flattened face, contaminated or oxidised) increases contact area and reduces current density — the weld nugget becomes insufficient even with correct settings. Dress electrode tips with a tip dresser every 50–100 welds depending on use intensity. Replace when usable length is consumed. On galvanised steel, clean tips more frequently — zinc alloys with the copper and rapidly degrades the tip face.
6. Common spot welding defects and how to fix them
| Defect observed | Probable cause | Correction |
|---|---|---|
| Insufficient nugget (too small) | Current/time too low, worn or dirty electrodes, excessive sheet gap | Increase I or t, dress electrodes, clamp sheets tight |
| Metal expulsion (spatter) | Current/time too high, force too low, dirty surfaces | Reduce I or t, increase force, clean surfaces |
| Deep electrode indentation | Force too high, worn electrodes (flat face), current too high | Reduce force, dress or replace electrodes |
| Off-centre nugget | Electrode misalignment, sheets not flat, electrodes not coaxial | Realign electrodes, check perpendicularity to sheet |
| No weld (open circuit) | Poor electrode contact, paint/coating on surfaces, faulty ground connection | Clean surfaces, check cables and ground clamp |
| Shunting (reduced 2nd nugget) | Adjacent spots too close together | Maintain minimum 3/4–1 in (20–25 mm) spacing, slightly increase I |
7. Spot welding applications
Spot welding is found everywhere thin metal sheets need to be joined quickly and cleanly. In auto body repair, it’s the reference process for replacing a fender, door skin, rocker panel, floor section or any structural component — OEMs specify the number, spacing and minimum nugget diameter of welds to restore in their repair procedures. Beyond automotive, spot welding is used in appliance manufacturing (washing machine and refrigerator housings), construction (metal framing, HVAC ductwork), battery manufacturing (connecting Li-ion cell tabs) and aerospace (fuselage panels, wing ribs in aluminium alloys).
8. Choosing a spot welder: key criteria
Three criteria drive the choice of a body repair spot welder. Rated output (kVA) determines maximum weldable thickness and nugget quality on galvanised or AHSS steel — for standard body panels (0.024–0.079 in / 0.6–2 mm), a 5–10 kVA machine is generally adequate for hobbyist to semi-professional use. Independent parameter control (current, time and force separately adjustable) is essential to adapt to different materials — avoid machines with a single undifferentiated dial. Arm reach (throat depth) determines accessibility in deep body cavities — verify it’s sufficient for your intended work areas. Also check AHSS compatibility if working on late-model vehicles.
9. Safety in spot welding
Spot welding is generally safer than arc welding (no UV radiation, minimal fumes in normal use), but it carries its own risks. Contact burns from hot electrodes and sheets are common — always wear insulating gloves. Electrocution risk exists with poorly maintained or wired equipment — check grounding and cable condition before each session. On galvanised or coated sheets, zinc vapour released is toxic — work with adequate ventilation or wear an N95/P100 respirator. Metal spatter during expulsion events can burn skin and eyes — wear safety glasses. Per OSHA 29 CFR 1910.252 and AWS Z49.1, appropriate PPE is mandatory in any professional welding environment.
10. Spot welding FAQ
What is the difference between spot welding and MIG welding in body repair?
Spot welding joins two overlapping sheets by electrical resistance — no filler, no gas, localised heat and a flush, invisible result. MIG welding produces a continuous bead with filler metal — more versatile (butt, fillet, lap) but with more heat distortion and a bead that needs grinding. In body repair, spot welding accurately reproduces factory welds; MIG handles butt seams and structural reinforcements. See our MIG welding guide.
Why is my spot weld not holding (insufficient nugget)?
An insufficient nugget is caused by: current or time too low, worn or contaminated electrodes (dress or replace), excessive gap between sheets (clamp them flat), painted or oxidised surfaces (grind before welding), or shunting from an adjacent spot too close. Increase current and/or time progressively and test on scrap pieces before welding on the actual panel.
What power (kVA) do I need in a body spot welder?
For standard body panels (0.024–0.079 in / 0.6–2 mm) in mild or galvanised steel: 5–8 kVA is adequate for hobbyist to semi-professional use. For AHSS (advanced high-strength steel) on late-model vehicles: 10 kVA+ with independent force adjustment. VEVOR spot welders offer excellent value for everyday body repair work.
How do I know if my spot weld is good?
The reference test is the peel test (destructive pull-apart test): on a scrap sample of the same material with the same settings, peel the two sheets apart with a chisel or pliers — a good weld pulls out a circular plug (button) from one of the sheets (nugget pull-out), rather than separating cleanly at the interface. The button diameter must be ≥ 3.5 × √t (t = thickness of thinner sheet in mm). Always test on scrap before welding the actual part.
Can I spot weld aluminium?
Yes, but much harder than steel. Aluminium’s very high thermal and electrical conductivity requires extremely high currents, very short times and high forces to form a proper nugget without melting the entire sheet. Standard body steel spot welders are generally not suited for aluminium — dedicated professional equipment with adapted parameters and special electrodes is required.
How long do spot welder electrode tips last?
Tip life depends on material, current level and dressing frequency. On mild steel: CuCrZr tips can last several thousand welds with regular dressing (every 50–100 welds). On galvanised steel: zinc alloys with copper and degrades tips much faster — dress every 30–50 welds. Replace when usable length is consumed or geometry can no longer be maintained by dressing.
Should I use weld-through primer between the sheets?
In body repair, applying a weld-through corrosion primer between sheets before welding is recommended to protect contact surfaces against future corrosion — especially in closed sections inaccessible after assembly. Use only a primer compatible with resistance spot welding (stated in the product data sheet). A non-conductive or excessively thick primer prevents proper nugget formation and produces weak welds.
What is the minimum distance between spot welds?
The minimum pitch between adjacent spots is 3/4–1 in (20–25 mm) for 0.039 in (1 mm) sheet. Below this, the shunting effect diverts current through the already solidified first nugget, reducing energy and nugget size on the second spot. Always follow OEM-specified pitch from repair procedures.
What is the difference between a spot welder and a stud welder?
A spot welder joins two overlapping sheets through both sides — requires access to both surfaces. A stud welder (dent puller) welds a pin or stud to a single sheet face by arc discharge — allows dent pulling without rear-side access. Both tools complement each other in body repair: the spot welder restores structural welds, the stud welder pulls dents.
Is spot welding compliant with OEM repair specifications?
Yes — most OEMs specify resistance spot welding for restoring factory joints when replacing body components. OEM repair procedures (available through I-CAR, ALLDATA, Mitchell, OEM1Stop, manufacturer portals) specify the number, location, minimum nugget diameter and recommended parameters. Compliance with these procedures is required to maintain OEM warranty and the vehicle’s passive safety performance (crash ratings) after repair.
Conclusion: spot welding — essential in auto body repair
Spot welding (resistance spot welding, process 21) remains the essential process for any body repair requiring faithful restoration of factory welds: precision, flush appearance, minimal heat distortion and compliance with vehicle safety standards. With the right current, time and pressure settings for your sheet thickness and material type, well-maintained electrodes and properly prepared surfaces, you’ll produce strong, compliant and durable joints every time. Explore our selection of VEVOR spot welders, MIG, TIG and MMA welders to equip your shop.