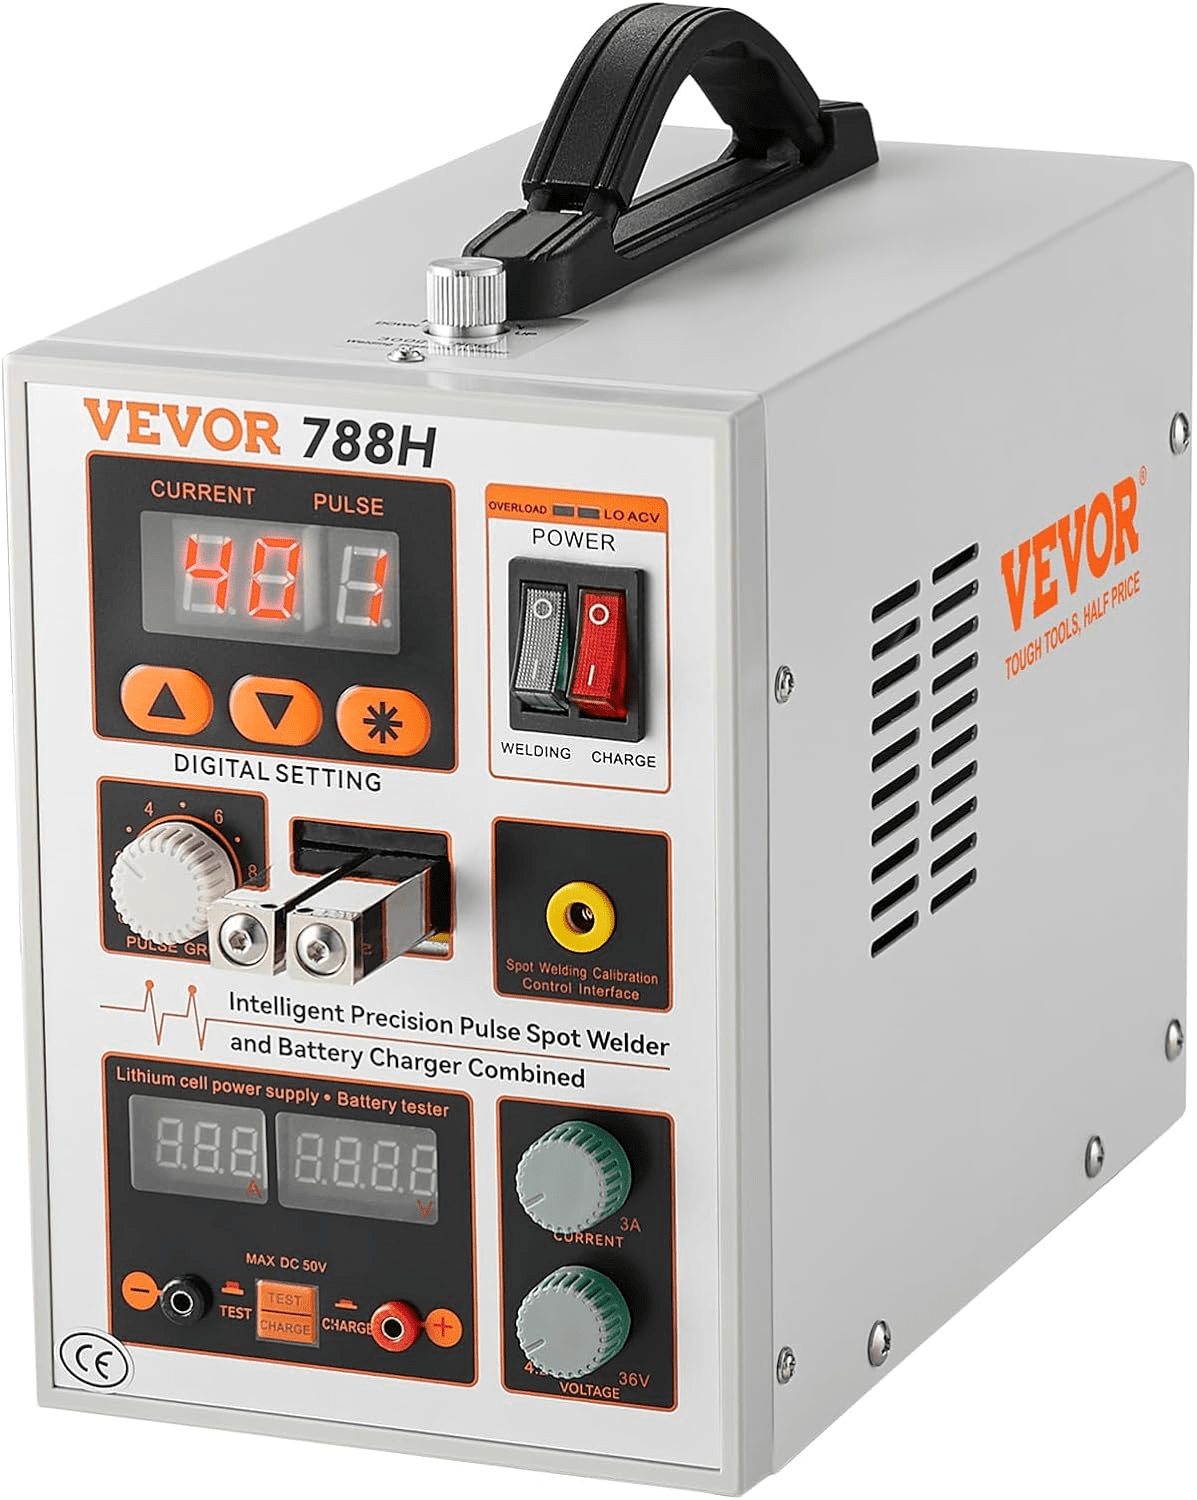
A battery spot welder — also called a battery welder, tab welder or nickel strip welder — is the essential tool for assembling lithium battery packs (18650, 21700, LiPo pouch cells) by welding thin nickel or nickel-plated strips onto cell terminals. Unlike a body shop spot welder that joins sheet metal panels, a battery spot welder is optimised for very thin conductive strips (0.1–0.3 mm) and must deliver a precisely controlled pulse without overheating the cells — heat is the primary enemy of lithium batteries. It is the go-to tool for DIY battery builders, e-bike enthusiasts, powerwall makers, and repair technicians.
SOUDURE TIG · MIG/MAG
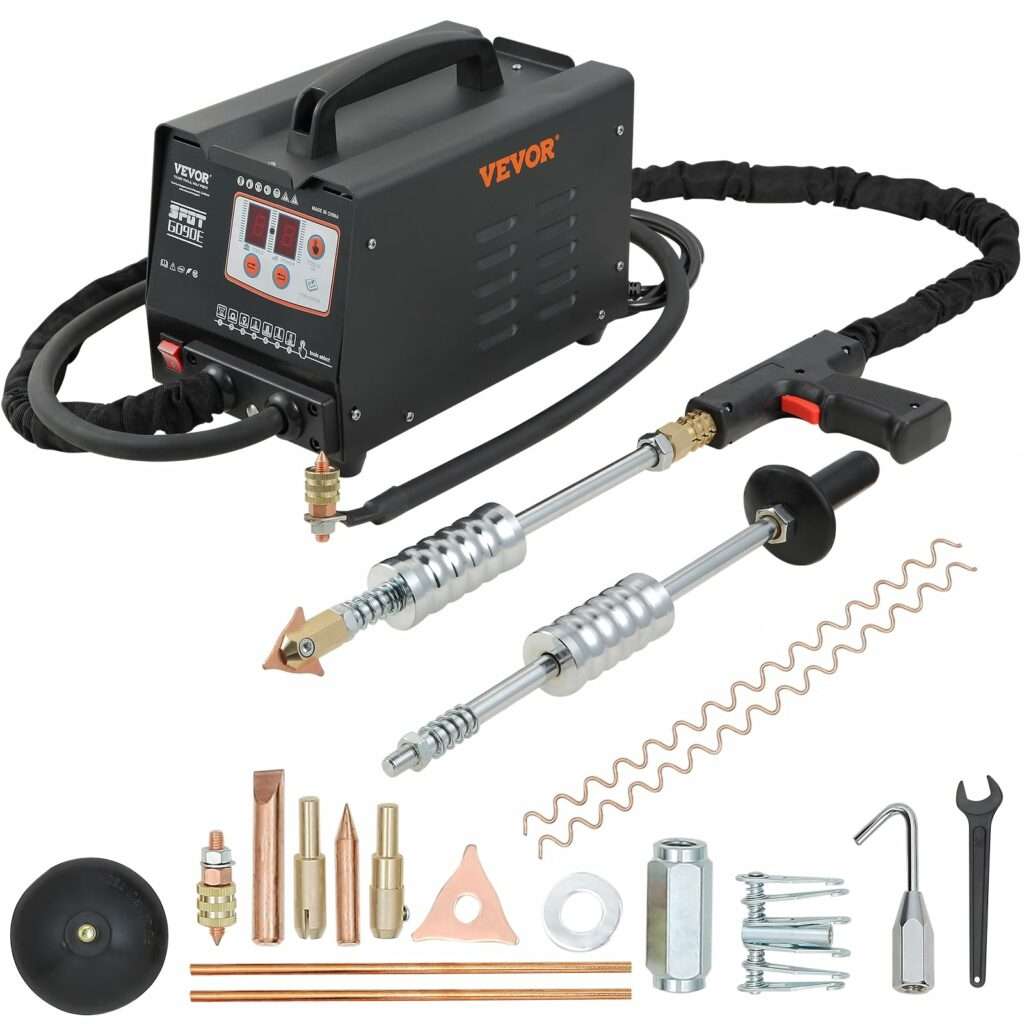
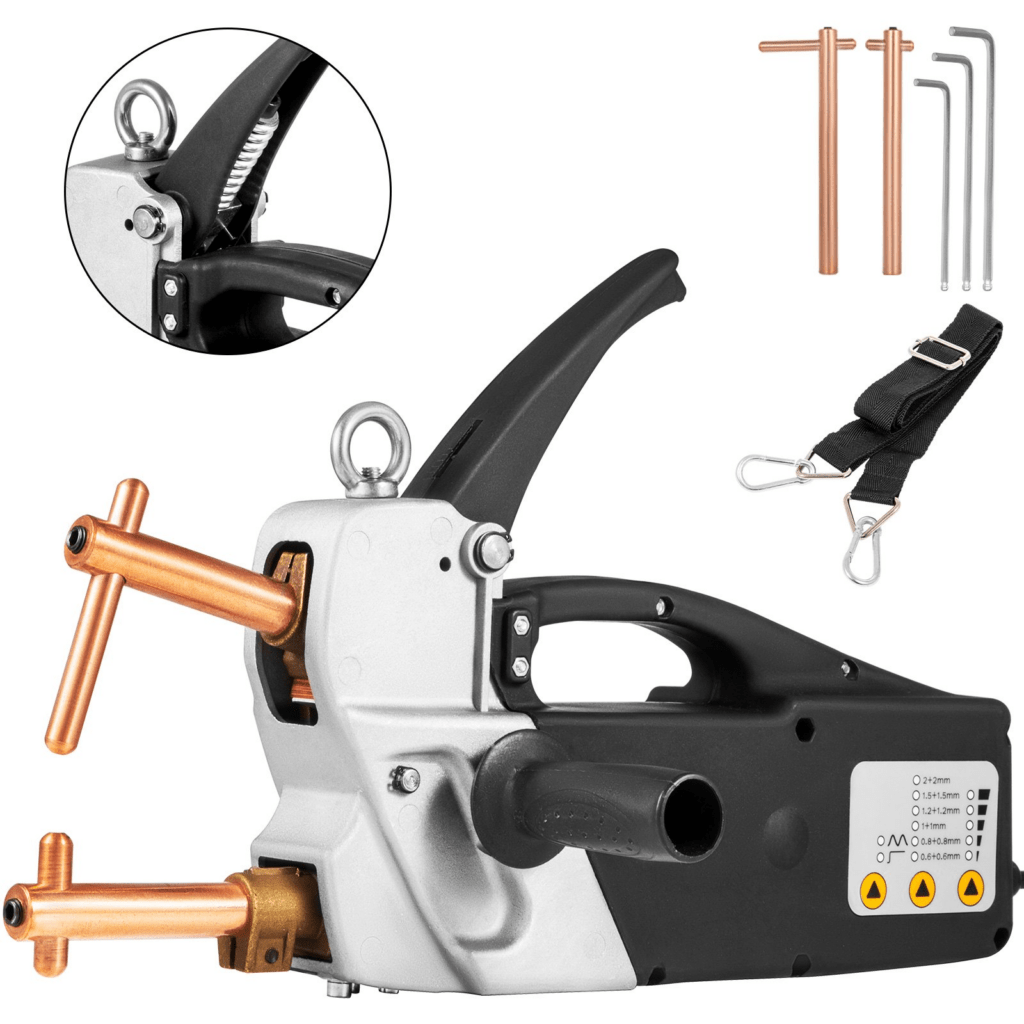
MMA · PAR POINT · DÉBOSSELAGE
Liens fiables et vérifiés — disponibles sur Amazon & AliExpress
This complete guide to the battery spot welder covers everything you need: the resistance welding principle applied to battery assembly, nickel strip settings by thickness, step-by-step pack assembly technique for 18650 and 21700 cells, common faults and corrections, safety precautions specific to lithium cells, and how to choose the right equipment. Also see our guides on spot welding and stud welding for other resistance welding applications.
1. Principle of the battery spot welder: resistance welding on nickel strips
The battery spot welder works by resistance welding: two copper electrodes pressed against a nickel strip resting on a cell terminal deliver a short, intense electrical pulse. The electrical resistance at the contact interface between the strip and the terminal generates localised heat that fuses the nickel strip to the cell terminal in a fraction of a second — typically 1 to 20 milliseconds. The pulse duration and energy are carefully controlled to achieve a solid weld without conducting damaging heat into the cell itself.
Most DIY and semi-professional battery spot welders use a capacitor discharge or pulse system with adjustable energy (expressed in joules, milliseconds or a percentage scale). The key parameter is the weld energy relative to strip thickness — too little and the weld is cold and brittle; too much and the heat penetrates the cell, degrading the electrolyte or triggering thermal runaway in the worst case. A good battery spot welder must also offer double-pulse welding (pre-pulse to clean the oxide layer + main pulse to weld) for consistent results on nickel-plated steel strips.
Battery spot welder vs body spot welder: key differences
| Criterion | Battery spot welder | Body / automotive spot welder |
|---|---|---|
| Materials welded | Nickel strip / nickel-plated steel (0.1–0.3 mm) | Mild steel / AHSS sheet (0.6–2.0 mm) |
| Pulse energy | Very low (1–100 J typically) | High (3–15+ kVA) |
| Pulse duration | 1–20 ms (very short) | 100–500 ms |
| Primary risk | Cell overheating → thermal runaway | Sheet distortion, expulsion |
| Electrode spacing | Both electrodes on same face (pencil tips) | One electrode each side of the join |
| Typical application | 18650 / 21700 / LiPo pack assembly | Panel replacement, structural spots |
2. Battery spot welder settings by nickel strip thickness
Getting the settings right is the most critical skill in battery spot welding. The variables are strip thickness, strip material (pure nickel vs nickel-plated steel), cell terminal coating, and electrode condition. The values below are indicative starting points for clean pure nickel strip on standard 18650/21700 cells using a dual-pulse welder. Always run test welds on a scrap strip first — and perform a peel test (grip the strip with pliers and peel it back) to verify weld strength before committing to a full pack build.
Settings chart — pure nickel strip on 18650 / 21700 cells (indicative values)
| Strip thickness | Strip material | Pulse energy / setting | Pulse duration | Double pulse |
|---|---|---|---|---|
| 0.10 mm | Pure nickel | Low (20–30 %) | 2–4 ms | Optional |
| 0.15 mm | Pure nickel | Low–Med (30–45 %) | 3–6 ms | Recommended |
| 0.20 mm | Pure nickel | Medium (40–60 %) | 5–8 ms | Recommended |
| 0.15 mm | Nickel-plated steel | Med (40–55 %) | 4–7 ms | Essential |
| 0.20 mm | Nickel-plated steel | Med–High (50–70 %) | 6–10 ms | Essential |
| 0.30 mm | Pure nickel | High (60–80 %) | 8–14 ms | Essential |
Strip material note: pure nickel strip is softer, welds more easily and has lower resistance — preferred for high-current packs (e-bike, powerwall). Nickel-plated steel strip is harder, cheaper and slightly higher resistance — fine for lower-current packs (small tools, flashlights) but requires higher energy and always benefits from double-pulse. Never use aluminium strip with a standard battery spot welder — it requires special equipment and is not recommended for DIY assembly.
3. Battery pack assembly technique: step by step
Step 1 — Cell inspection and sorting
Measure each cell’s voltage with a multimeter. All cells in a pack must be at the same voltage (within ±0.01 V) before assembly — mismatched cells create internal current loops that degrade the pack and can cause overheating. For 18650 lithium cells, a storage voltage of 3.6–3.7 V is ideal for pre-assembly. Also check internal resistance if your charger/analyser supports it — reject any cell showing significantly higher IR than the others.
Step 2 — Cell arrangement and holder
Place the cells in a cell holder (18650 or 21700 format) in the desired configuration — series (S) for higher voltage, parallel (P) for higher capacity, or a combined nP-nS configuration. Double-check cell polarity before welding — a reversed cell is a serious safety hazard. A 3D-printed or purchased holder keeps cells aligned and prevents movement during welding.
Step 3 — Nickel strip preparation and test weld
Cut nickel strip to length. Clean with isopropyl alcohol if needed. Set your battery spot welder power according to the strip thickness chart above. Always do at least 3–5 test welds on a scrap cell or dummy terminal before working on your actual cells. Perform a peel test: grip the strip end with pliers and peel — a good weld tears the nickel itself rather than peeling cleanly off the terminal. If the strip peels off cleanly, increase power or pulse duration.
Step 4 — Welding the nickel strips
Position the strip over the cell terminal. Press both pencil-tip electrodes firmly onto the strip, spaced 5–8 mm apart. Trigger the pulse. Weld each end of the strip (negative and positive terminal sides) with 2 weld spots per connection minimum — more spots mean lower contact resistance and higher current capacity. Work methodically across the pack, connecting all negative terminals first, then all positive terminals. Never bridge positive and negative in a single strip accidentally — always cut strips precisely to length before welding.
Step 5 — Verification and finishing
After welding all strips, use a multimeter to verify total pack voltage (e.g. a 4S pack of 3.7 V cells should read ~14.8 V). Check each cell group with the multimeter probes to verify balance. Insulate any exposed nickel edges or connections with Kapton tape or PVC shrink tube to prevent short circuits. Perform a gentle charge/discharge cycle to verify pack behaviour before fitting into the final device.
4. Common battery spot welding faults and corrections
| Fault observed | Likely cause | Correction |
|---|---|---|
| Strip peels off cleanly (cold weld) | Power too low, pulse too short, oxidised cell terminal or strip | Increase power/duration, lightly abrade terminal, clean with IPA |
| Strip burns through / hole in strip | Power too high, electrodes too close together, poor electrode contact | Reduce power, increase electrode spacing to 5–8 mm, clean electrode tips |
| Cell gets hot after welding | Pulse energy too high, too many consecutive welds on same cell without pause | Reduce power, allow 5–10 s pause between welds on same cell, check cell temp |
| Inconsistent weld quality (some hold, some don’t) | Uneven electrode pressure, worn electrode tips, strip not flat on terminal | Clean and reshape electrode tips, ensure strip is flat and firmly pressed |
| Sparks / spatter at weld point | Contaminated strip or terminal surface, power too high | Clean surfaces with IPA, reduce power slightly, use double pulse |
| No weld / no arc sound | Capacitor not charged, cable connection loose, power too low | Wait for full charge indicator, check all connections, increase power |
5. Applications of the battery spot welder
The battery spot welder is used wherever lithium or nickel-based cells need to be assembled into packs. The most common DIY and semi-professional applications are 18650 / 21700 DIY packs for laptops, torches, and custom projects; e-bike and e-scooter battery rebuilds (replacing worn cells in existing packs); powerwall / home energy storage systems built from recycled laptop cells; cordless power tool battery rebuilds (drills, saws, garden tools); drone and RC LiPo repair (replacing cells in multi-cell pouch packs); and portable medical device batteries (heart monitors, infusion pumps). In light industry, battery spot welders are also used to assemble NiMH packs for industrial scanners, UPS systems, and emergency lighting. Per IEC 62133 safety standards for portable sealed rechargeable cells, proper cell matching and connection quality are critical safety requirements.
6. Choosing the right battery spot welder
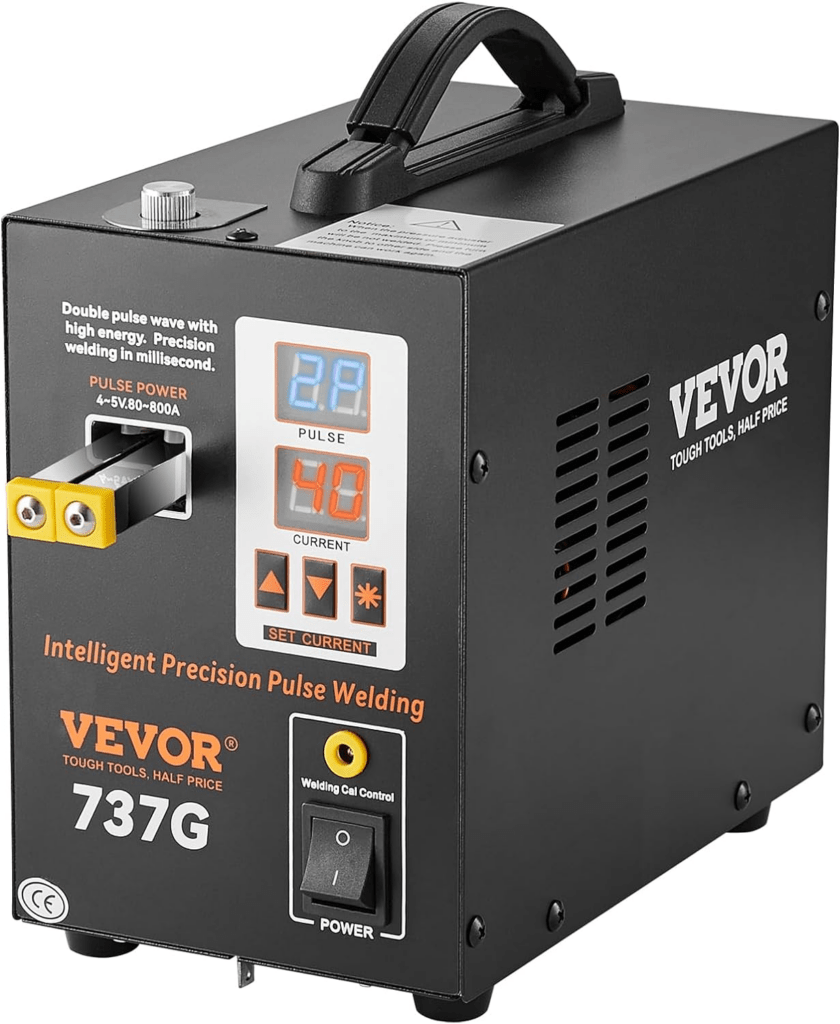
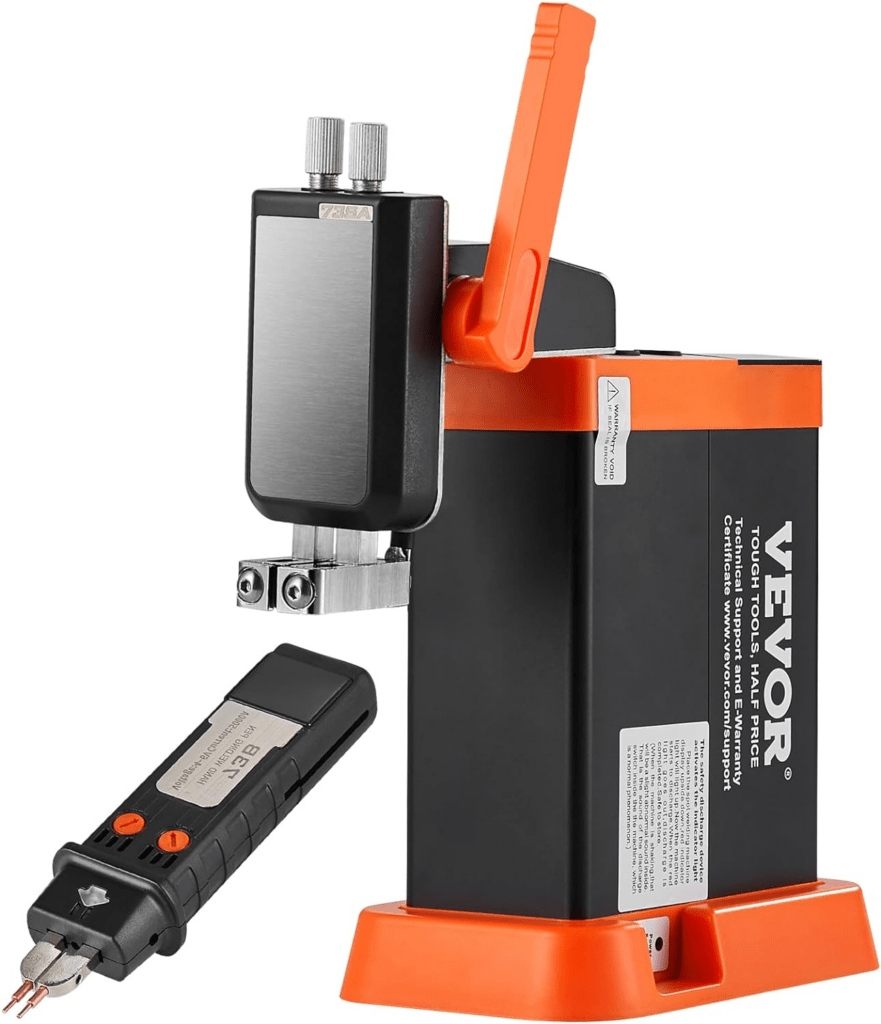
Four criteria determine the choice of a battery spot welder. Adjustable pulse energy and duration — the most important criterion: a welder with only a single fixed power setting is inadequate for serious work. Look for a unit with at least 10 power levels or, better, direct millisecond pulse-time adjustment. Double-pulse capability (pre-pulse + main pulse) dramatically improves weld consistency, especially on nickel-plated steel strip — it is a must-have for any regular builder. Electrode type — pencil-tip electrodes give the best access for cell terminal welding; avoid welders that come only with flat roller electrodes. Duty cycle and heat management — for large packs (100+ cells), the welder must be able to sustain repeated pulses without overheating its own capacitors or electronics. VEVOR battery spot welders offer an excellent balance of adjustability and value for both occasional and regular battery builders.
7. Safety when using a battery spot welder
The battery spot welder presents a unique combination of electrical and chemical hazards. Short-circuit risk is the most immediate danger: a lithium cell pack can deliver hundreds of amperes — a short circuit from a dropped strip or a misplaced electrode can cause a violent fire or explosion. Always keep a fire extinguisher rated for lithium fires (Class D or dry sand) nearby. Thermal runaway in a lithium cell caused by overheating during welding produces toxic fumes (hydrogen fluoride, lithium oxide) — work in a well-ventilated space and wear an FFP2 respirator when welding large packs. Electrical burns from electrode tips are brief but intense — always wear heat-resistant gloves and eye protection. Never weld on a fully-charged cell pack — charge cells to storage voltage (3.6–3.7 V) before assembly. Per OSHA 29 CFR 1910.303 and IEC 62133, proper PPE and ventilation are mandatory in professional settings.
8. Frequently asked questions about the battery spot welder (FAQ)
What is the difference between a battery spot welder and an automotive spot welder?
A battery spot welder is optimised for welding very thin nickel strips (0.1–0.3 mm) onto cell terminals using low-energy, very short pulses (1–20 ms) — the goal is to make a solid electrical connection without heating the cell. An automotive spot welder joins steel body panels (0.6–2.0 mm) with much higher energy pulses to create a structural weld nugget. The two tools are not interchangeable: an automotive spot welder would destroy a battery cell; a battery spot welder cannot weld body panels.
What nickel strip thickness should I use for 18650 cells?
For most DIY 18650 packs, 0.15 mm pure nickel strip is a good starting point — it welds easily and handles moderate currents. For high-current applications (e-bike, powerwall with large discharge rates), 0.2–0.3 mm pure nickel — or double-layered 0.15 mm strips — give better current handling and lower resistance. Nickel-plated steel strip is a cheaper alternative but has higher resistance and requires more welding energy.
How do I know if my weld is strong enough?
The definitive test is the peel test: grip the strip end with pliers and peel it back forcefully. A good weld tears through the nickel strip itself rather than peeling cleanly off the terminal — the weld joint is stronger than the strip material. If the strip peels off leaving a clean terminal surface, the weld is too cold — increase power or pulse duration. If the terminal surface is torn or pitted, the weld may have damaged the cell — reduce power.
Can I use a battery spot welder on LiPo pouch cells?
Yes, but with extra caution. LiPo pouch cells have aluminium tabs (not steel/nickel terminals like 18650s) that require specific aluminium-compatible electrodes and higher energy settings. Standard battery spot welders are not optimised for aluminium and the results can be inconsistent. For LiPo repairs, many experienced builders prefer to use pre-tabbed cells or solder with a high-powered soldering iron and flux, working quickly to avoid heat damage. Welding LiPo cells should only be attempted by experienced users.
How many weld spots per cell connection do I need?
A minimum of 2 weld spots per connection side (i.e. 2 spots on the positive terminal end of the strip, 2 on the negative end) is the minimum for a reliable joint. For high-current applications, 4–6 spots per connection reduce contact resistance significantly. More weld spots mean lower resistance and better current sharing — critical for packs that will be discharged at high C-rates (e-bike, power tools).
Is it safe to weld on fully-charged lithium cells?
No — always discharge cells to storage voltage (3.6–3.7 V for Li-ion) before assembly. A fully-charged cell (4.2 V) contains more energy and is more sensitive to heat damage during welding. In the event of a short circuit during assembly, a storage-voltage cell is significantly less dangerous than a fully-charged one. Some builders go further and discharge to 3.3–3.5 V for maximum safety margin during assembly.
What is double-pulse welding and why does it matter?
Double-pulse welding fires two consecutive pulses: a short low-energy pre-pulse that burns off the oxide layer on the strip and terminal surface, followed immediately by the full-energy main pulse that makes the weld. This produces more consistent welds, especially on nickel-plated steel strip (which has a thin oxide layer on the nickel surface). Without double pulse, oxide contamination can cause cold welds, spatter, or inconsistent results. It is a key feature to look for in any battery welder intended for regular use.
Can I rebuild an e-bike battery pack with a battery spot welder?
Yes — rebuilding e-bike battery packs is one of the most popular applications for DIY battery spot welders. The process involves carefully disassembling the old pack, testing all cells to identify failed ones, replacing bad cells with matched new cells at the same voltage, and re-welding the nickel strips. Use 0.2–0.3 mm pure nickel strip for e-bike packs (higher current demands) and aim for 4–6 weld spots per connection. Always re-balance the pack with a quality BMS (Battery Management System) after rebuilding.
How should I maintain my battery spot welder electrodes?
The pencil-tip electrodes accumulate nickel residue and oxidise with use, leading to inconsistent contact and poor welds. Clean the tips after every 20–30 weld cycles with fine sandpaper (P400–P600) or a small file. Reshape the tip to a consistent flat or slightly rounded profile. Replace electrodes when they become too short to maintain consistent spring pressure, or when cleaning no longer restores consistent weld quality. Store electrodes in a dry place to prevent oxidation.
What is the maximum pack size I can build with a DIY battery spot welder?
There is no strict limit on pack size — builders have assembled powerwall packs with thousands of 18650 cells using DIY battery spot welders. The limiting factor is the welder’s duty cycle: cheap welders with small capacitors overheat after 50–100 consecutive welds and need cooling time. For large pack builds, choose a welder with a large capacitor bank and a built-in cooldown indicator, or work in sessions with breaks. For professional-scale production, a purpose-built automated tab welder is more appropriate.
Conclusion: the battery spot welder, essential for DIY battery building
The battery spot welder is the essential tool for anyone building or repairing lithium battery packs — from small 18650 flashlight packs to large e-bike batteries and powerwall systems. With the right strip thickness settings, clean surfaces, proper double-pulse configuration, and a careful peel-test verification routine, you will achieve reliable, low-resistance connections on every pack you build. Discover our selection of VEVOR battery spot welders, spot welders, MIG/MAG, TIG and MMA welders for your workshop.